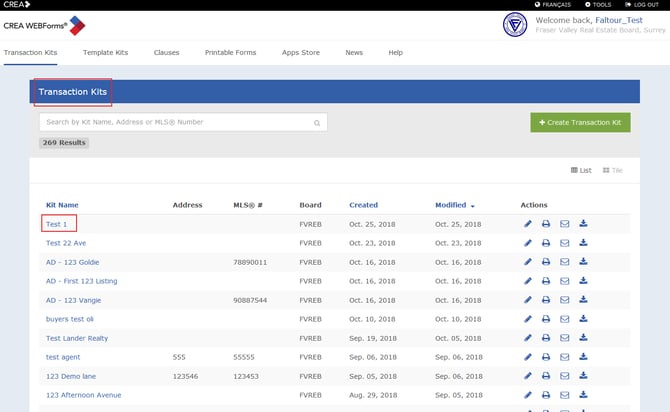
1. Login to your WEBForms account.
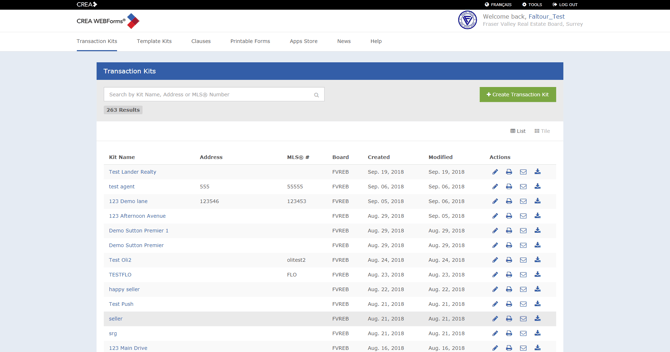
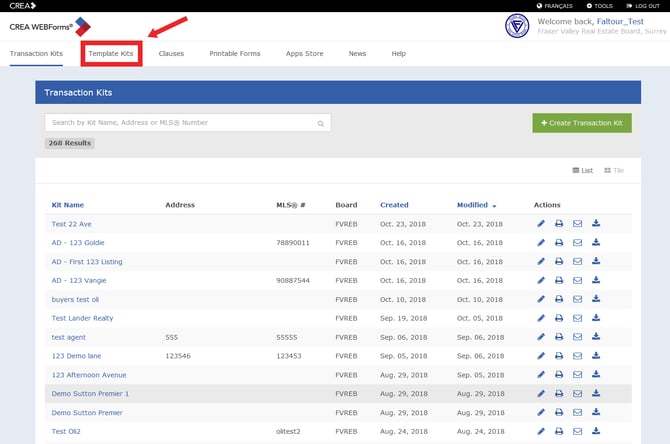
2. Click on Template Kits.
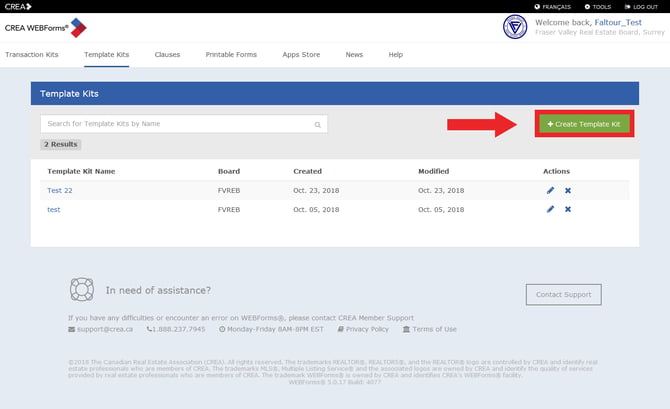
3. Click on Create Template Kit.
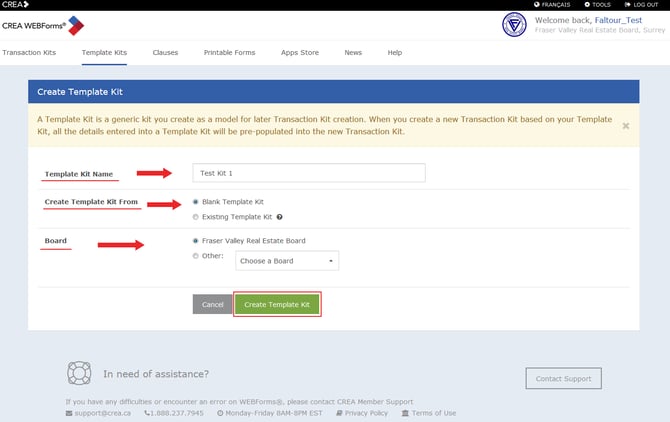
4. Write your Template Kit Name, then choose your Template Kit Form as well as the Board that you are linked to. Then click Create Template Kit.
Tip: Select the "Blank Template Kit" in order to create a new kit or choose "Existing Template Kit" in order to use a previously created Kit.
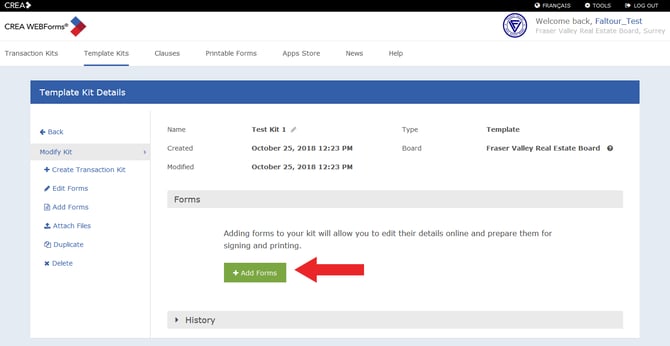
5. You will be redirected to the Template Kit Details. Click on Add Forms to add forms on your Template Kit:
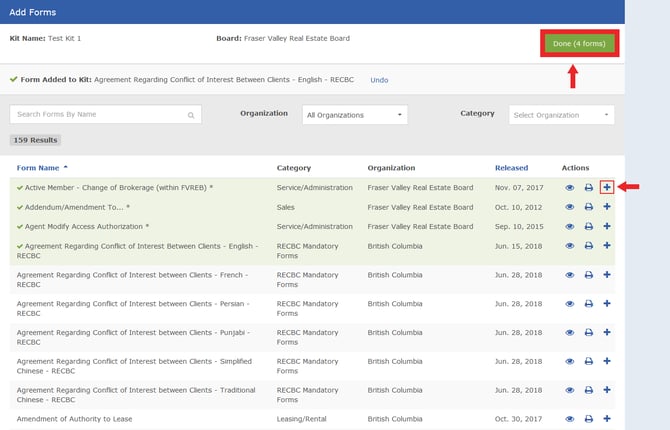
6. Click on the " + " button in order to select your forms, then click Done.
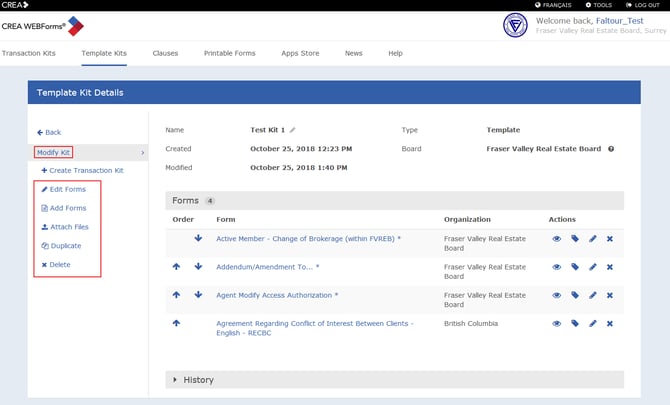
7. Now your Template Kit is created and your forms are added. Under Actions, you have different icons:
1- Allows you to View your form
2- Allows you to Rename your form
3- Allows you to Edit your form
4- Allows you to Remove your form
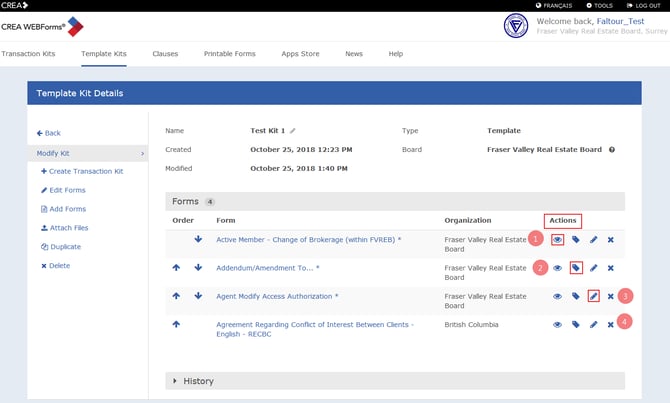
8. On the left hand side, you have shortcuts that allows you to Modify your Kit:
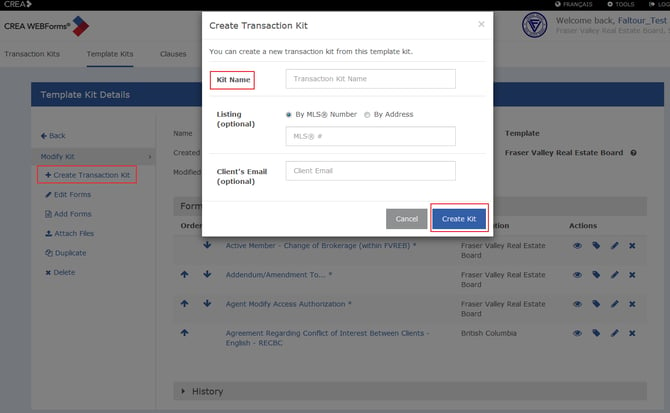
9. Click on + Create Transaction Kit to use your Template Kit. Fill the Kit Name (Listing info as well as Client's Email are optional), then click Create Kit.
10. Your Template Kit is now created. You will find it under Transaction Kit.