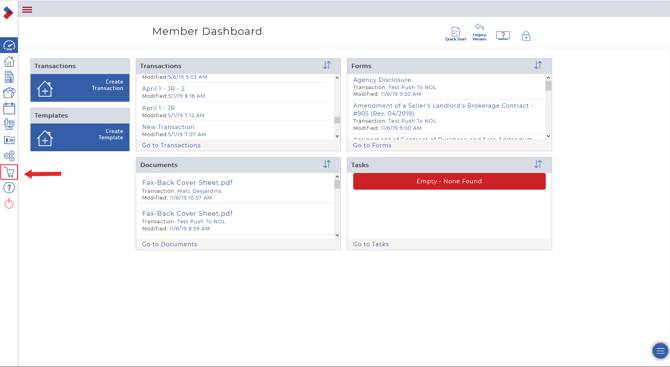
1. After logging into your CREA WEBForms account, select the shopping cart icon, to the left-hand side of your page, to be redirected to the Apps store.
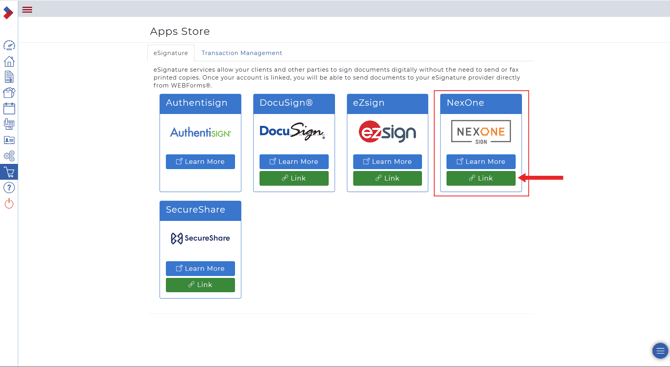
2. Under the eSignature section, find the NexOne logo and click on the green Link button located under it.
3. Select the blue “NexOne Office” option.

4. Fill in your NexOne Office credentials.

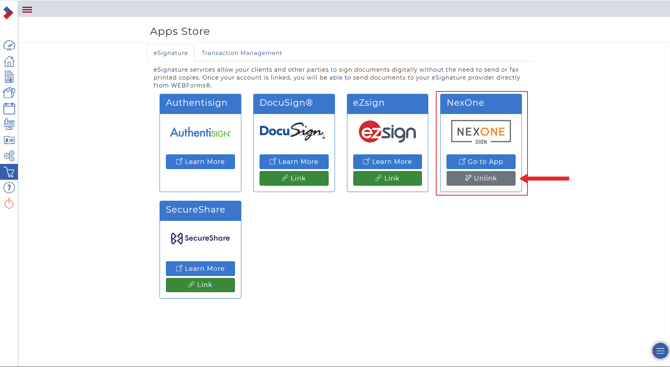
5. You should be redirected to the Webforms website and the Link option under the NexOne logo should now be grayed out and say Unlink. The accounts are now linked.

Unlink NexOne Office from CREA WEBForms
1. After logging into your CREA WEBForms account, select the shopping cart icon, to the left-hand side of your page, to be redirected to the Apps store

2. Under the eSignature section, find the NexOne logo and click on the gray Unlink button located under it.
3 The Unlink option under the NexOne logo should now be green and say Link. The accounts have now been unlinked

Completed!