A transaction with a Kit status is your personal workspace. As part of a kit transaction, you can link your transaction to a listing, add your clients, and manage your electronic documents, including electronic signature sessions.
However, please note that your "Kit" transaction is not visible to your office. In order to make the transaction visible, the status must be either; In Progress, Accepted, Cancelled or Rejected.
To create a Kit Transaction
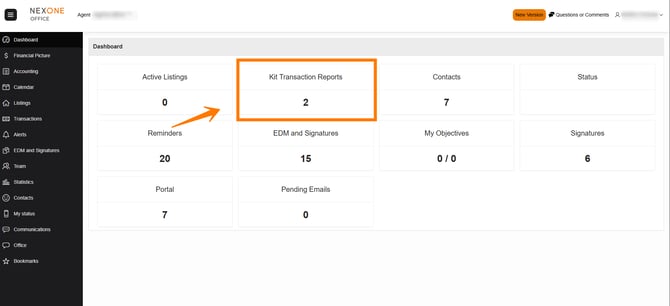
From the Dashboard choose the Kit Transaction Report box
From the kit transaction report section, you will be able to see any of your created "kits". To create a new one, simply click on the + add transaction report button at the top of the page.

You will be redirected to the transaction creation page where you will have to indicate where the information should be imported from; are you the listing agent, the buyer's agent or both.
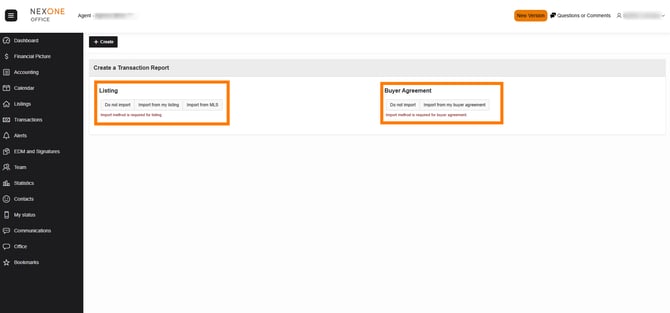
Listing agent
You can choose to import your information from your Listing files, a box will open, clicking on the + sign will add the information from that file to the transaction kit. In this case you do not have any information from the Buyer Agreement side, so you will chose Do not import.
Buyer's agent
You can choose to import the Listing information with the MLS number or Do not import if you wish to add the listing side information manually. On the Buyer Agreement side you can choose to import the information from your buyer agreement file or Do not import if you wish to add the information manually.
Double ending, you are representing the seller and buyer
You get the gist, you can import the information from your Listing file and from your Buyer Agreement file or choose Do not import to add all the information manually.
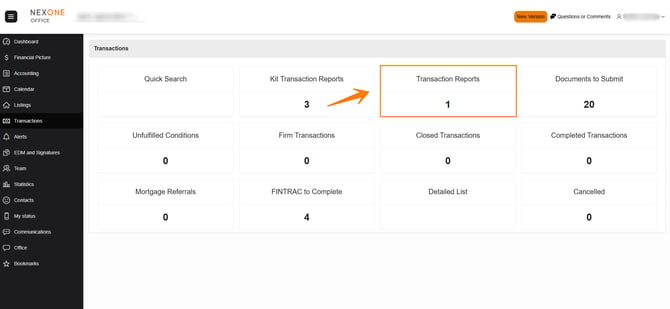
Once the status Kit is changed, the file is shared with the office and certain restrictions will apply on the agent side. Your file will also be moved to the Transaction Reports section.
To add the information related to the Purchase contract
You can directly access the EDM of your transaction by selecting the trombone. You can also modify or add information to transactions by pressing the Pencil.![]()
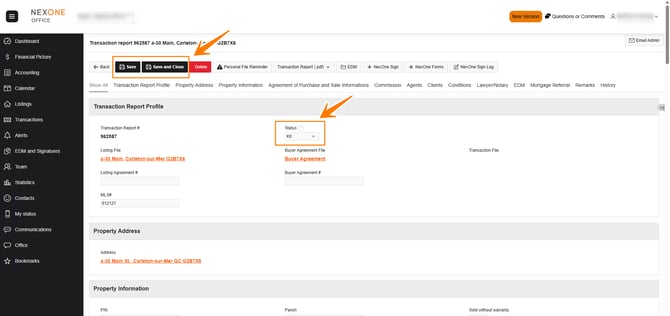
Fill in as much information as possible, or at least the required fields (with the little red star)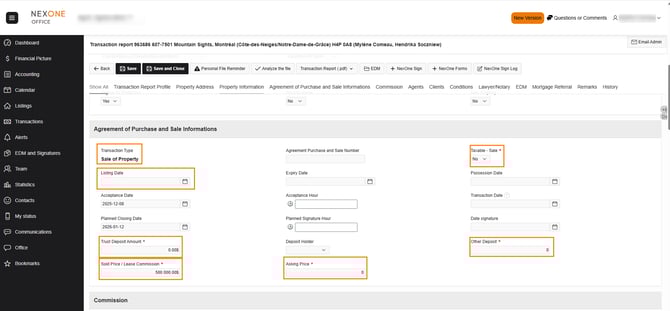
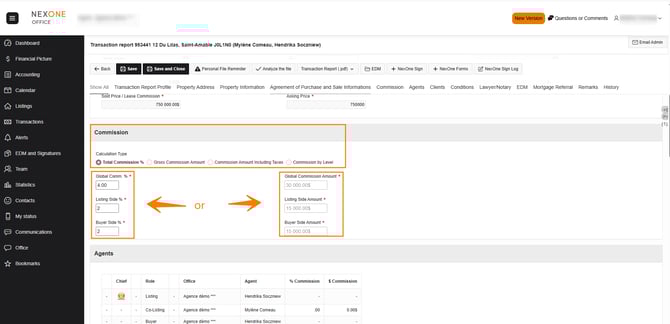
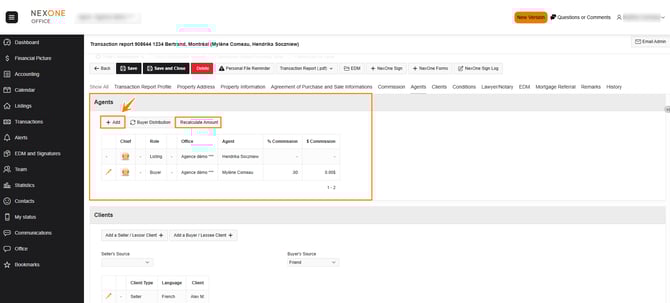
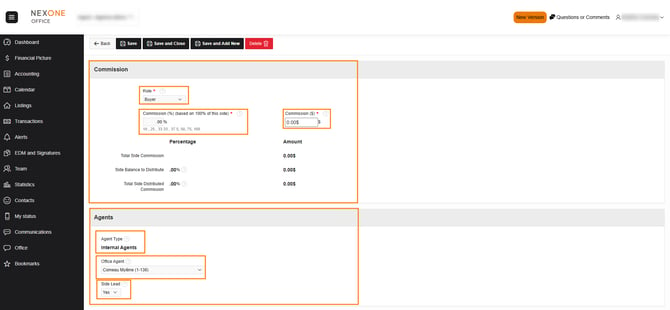
If the commission is not automatically adjusted in the agents section after your modifications, click on the recalculate button for the Listing or Selling side. Don't forget to save by clicking on the Save button.
You can add terms and conditions by pressing the +Add Condition button.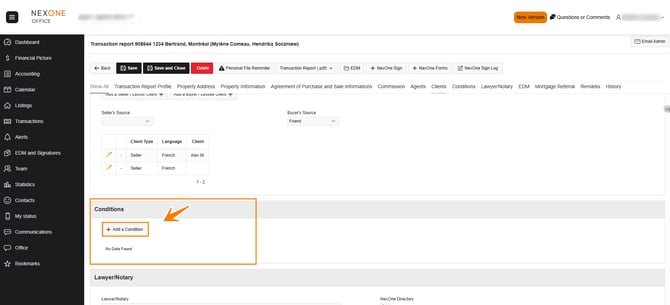
In the EDM section (Electronic Document Management), you can view the list of required documents (configured by your office) by pressing Refresh Mandatory Documents . 
There are several color codes for documents:
Red = Mandatory document missing
Orange = Optional Document
Yellow = Document to Verify
Green = Valid Document
Black = Document Declined
To add a document to your list, tap Add Document above the document list.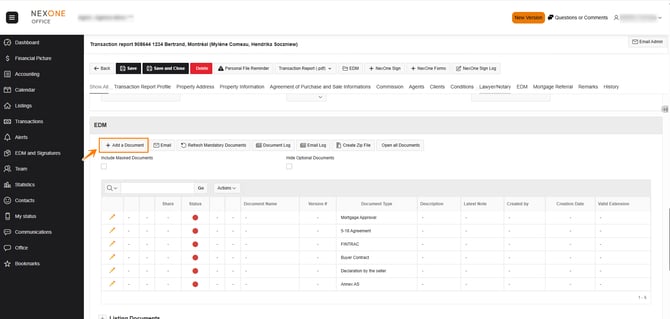
Fill in the necessary information for the document you are about to download (Scanner & Share Type by default)
Click on the box below and navigate to your computer to select the desired document. Press Open once the document is selected, or drag and drop
Complete the required fields in the Identification of Filings section. Once completed and the document is in the download area, press Save and Close

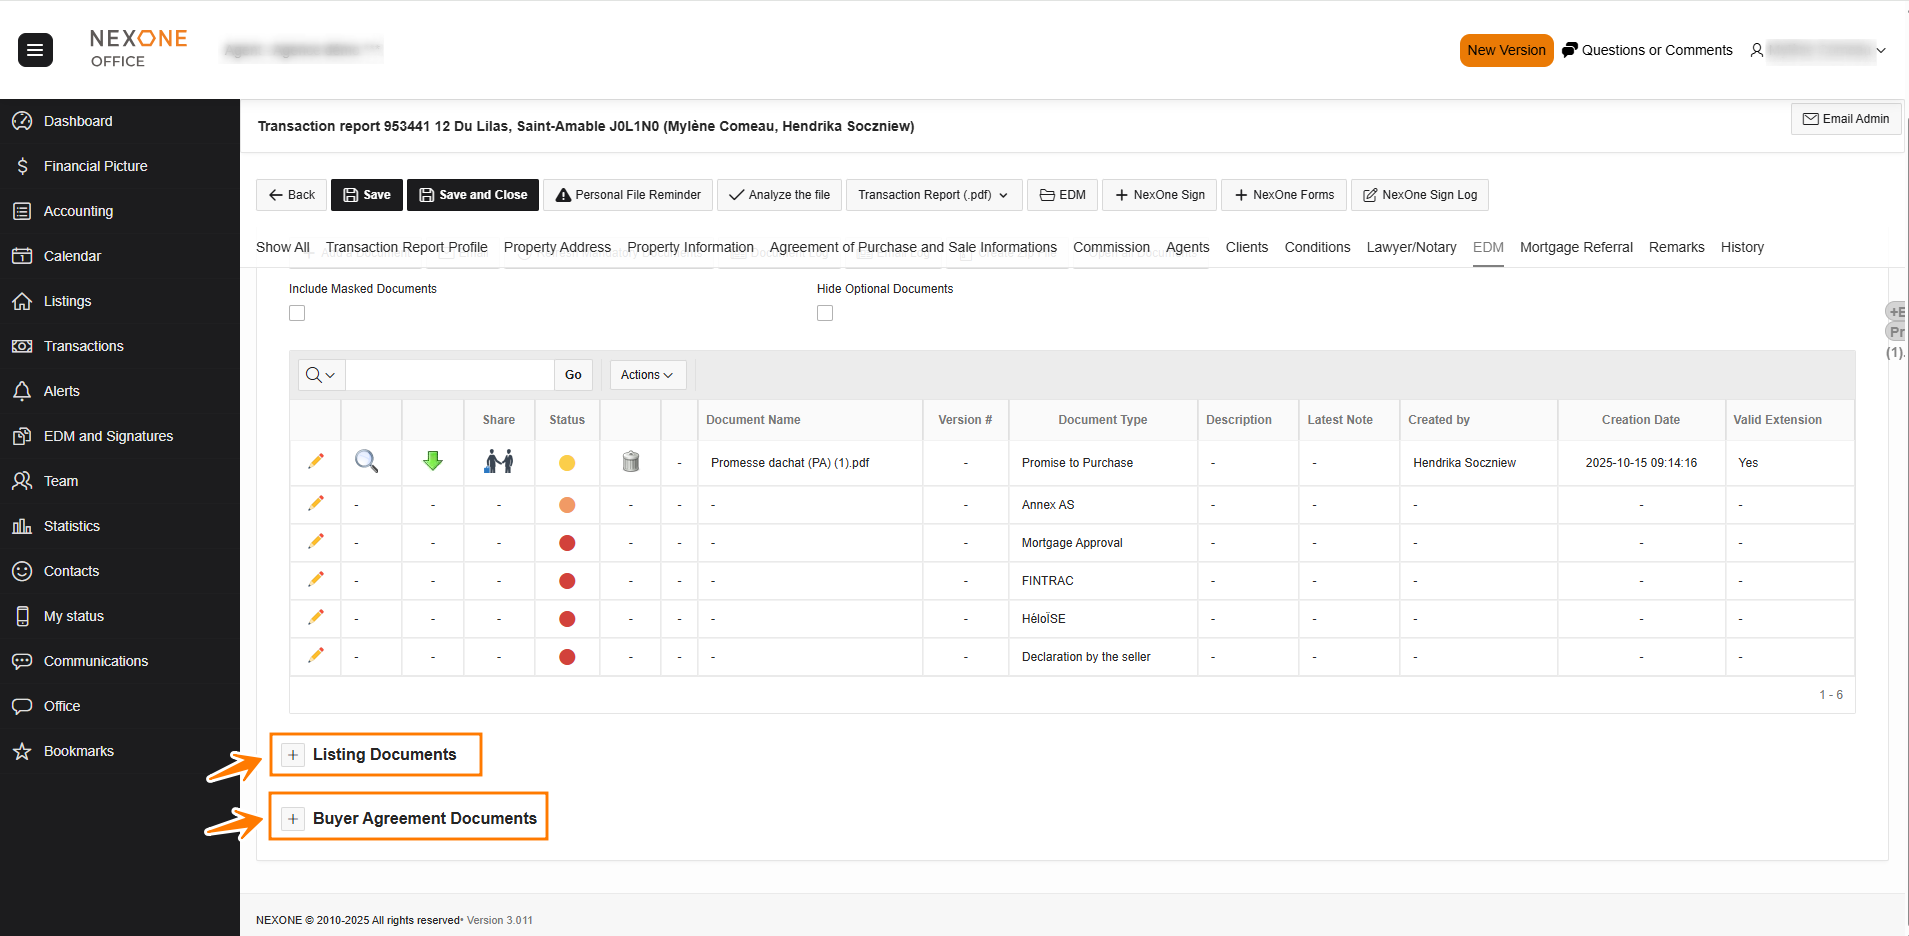
When creating a Transaction report linked to your Listing or Buyer Agreement, go to the EDM section and select “Listing Documents” or “Buyer Agreement Documents” to view the documents to the related files.
Description of EDM icons that you can see at the top of the document list.
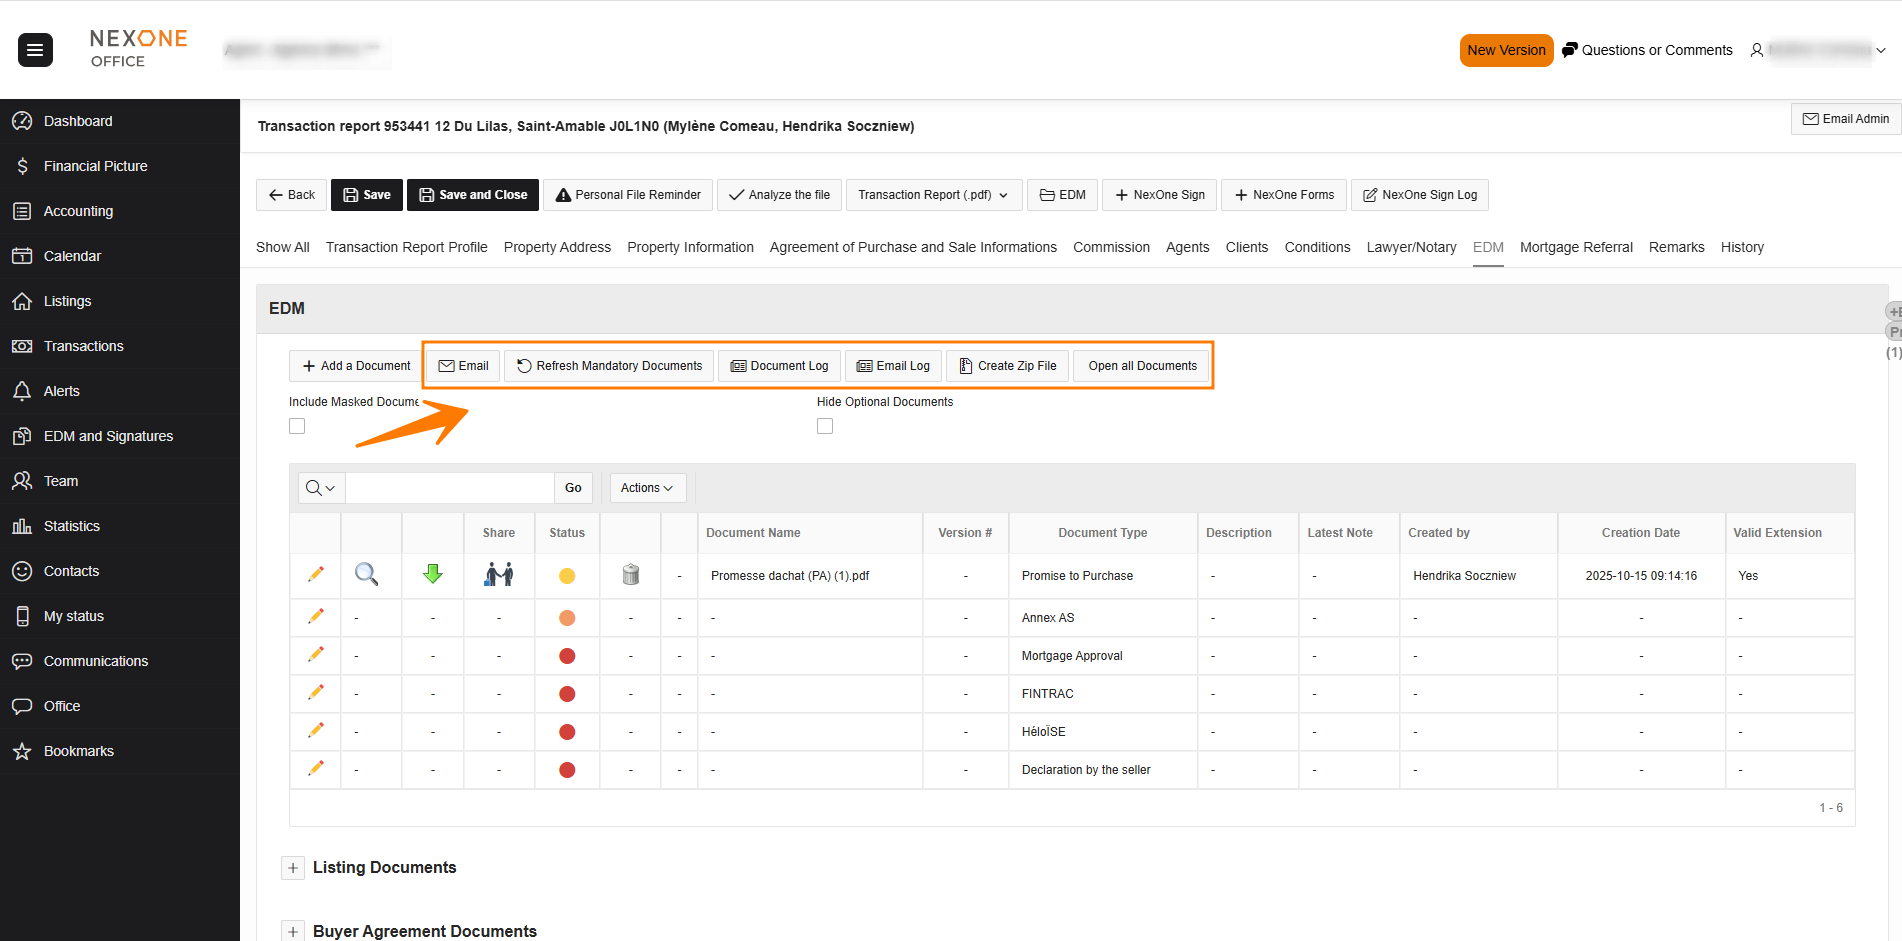
Email allows you to email documents directly from the transaction
Refresh Mandatory Documents allows you to refresh your office list of mandatory documents
Document Log allows you to view the history of added/modified/deleted documents
Email Log allows you to view dates and times of all transaction email history
Create Zip File lets you create a .Zip File that compresses all your documents
When you are done in your transaction report, you can return to the top to change the status from Kit to Accepted. Then tap Save and Close and your report is now submitted to your office for review.
If you have incorrect or missing information, the system will let you know right before saving. You can go and correct the errors or add the information afterwards by returning to the transaction report.
Completed!