
Step 1: Log In to Brokerage Main Office or HUB account.
Step 2: Click on Profile

Step 3: Click on Preferences

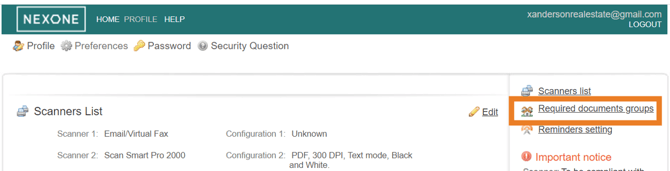
Step 4: Click on the link that says “Required Documents Groups”
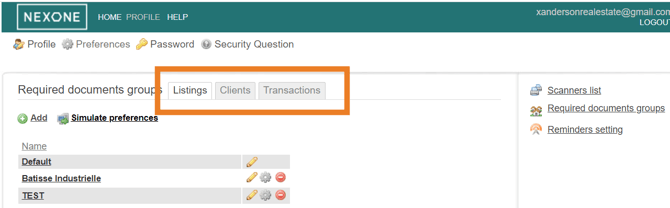
Step 5: Click on either Listing Tab, Clients Tab or the Transaction Tab - Whichever one that you would like to add a new document selection
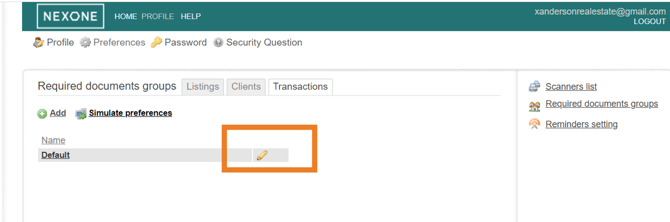
To Edit, Click on the PENCIL Icon
Step 6: Now you can either scroll through the document list and apply the necessary actions or you can do a “Ctrl F” and search for a document name to save you from scrolling through this list.
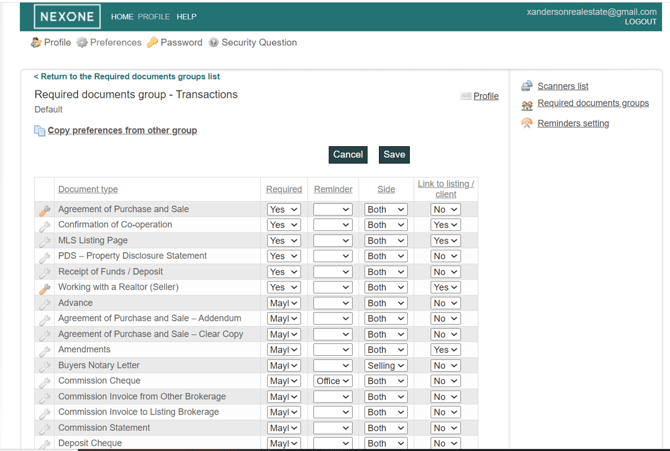
Step 7: Click “Save”- found at the top and/or bottom of the page once you finished choosing the documents needed.
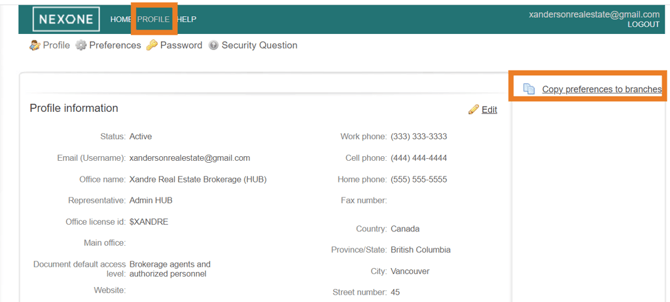
Step 8: Now, if you have multiple branches and would like the document preferences applied to all or some branches, Click on Profile
Step 9: Click on the link that says “Copy Preferences to Branches”
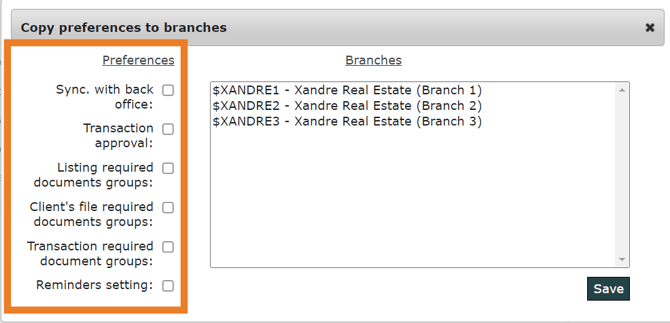
Step 10: Check Mark off the preference(s) that you would like applied to the Branch(es) (eg: Listing required documents groups and Transaction required document groups)
Step 11: Select the Branch you would like the Preference(s) applied to shown in the box.
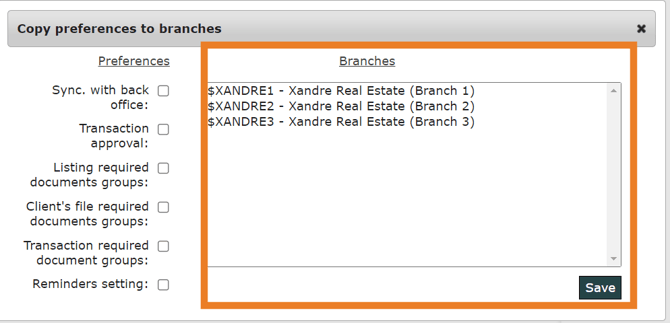
(to select multiple branches Hold down your “Ctrl” button while selecting other Branches.
Step 12. Click Save. (Now your preferences have been applied to all branches).